


Welcome to the Craftsman Garage Door Opener Installation Manual. This guide provides step-by-step instructions for safe and successful installation, ensuring proper function and longevity of your opener.
1.1 Overview of the Manual
This manual guides you through installing a Craftsman 1/2 HP 315MHz garage door opener for residential use. It covers safety precautions, tools needed, and step-by-step installation. Key sections include assembling the rail, installing the header bracket, and connecting electrical components. The manual emphasizes proper safety measures and testing procedures to ensure smooth operation. Follow instructions carefully to comply with local codes and ensure safe, effective installation.
1.2 Importance of Following the Manual
Adhering to the manual ensures a safe and correct installation of your Craftsman garage door opener. Proper steps prevent injuries, equipment damage, and potential malfunctions. Safety measures, like disconnecting power and securing the header bracket, are crucial. Following guidelines helps comply with regulations and guarantees optimal performance. Deviations may lead to hazards or system failure, emphasizing the necessity of meticulous adherence to instructions provided in the manual for a reliable setup.
Safety Precautions and Warnings
Ensure power is disconnected before installation to prevent electric shock. Avoid wearing loose clothing and keep children away from moving parts. Always test safety reversal systems after installation.
2.1 General Safety Guidelines
Always disconnect power before installation to prevent electric shock. Wear protective gear and avoid loose clothing that could get caught. Ensure the opener is securely fastened to structural supports. Keep children away from moving parts and test safety features after installation. Never operate the opener if the door is unbalanced or has damaged springs. Follow all local building and electrical codes to ensure safe and proper installation.
2.2 Specific Warnings for Installation
Disconnect power before starting installation to avoid electric shock. Ensure the opener is securely fastened to prevent it from falling. Remove all ropes and locks from the garage door to avoid entanglement. For one-piece doors, additional reinforcement may be required. Keep the area clear of obstructions. Always follow the manufacturer’s instructions precisely to ensure safe and proper installation. Failure to comply may result in serious injury or damage.

Preparing for Installation
Gather all tools and materials, ensuring they match your garage door type. Check the door’s condition and balance. Verify all parts are included in the carton.
3.1 Tools and Materials Needed
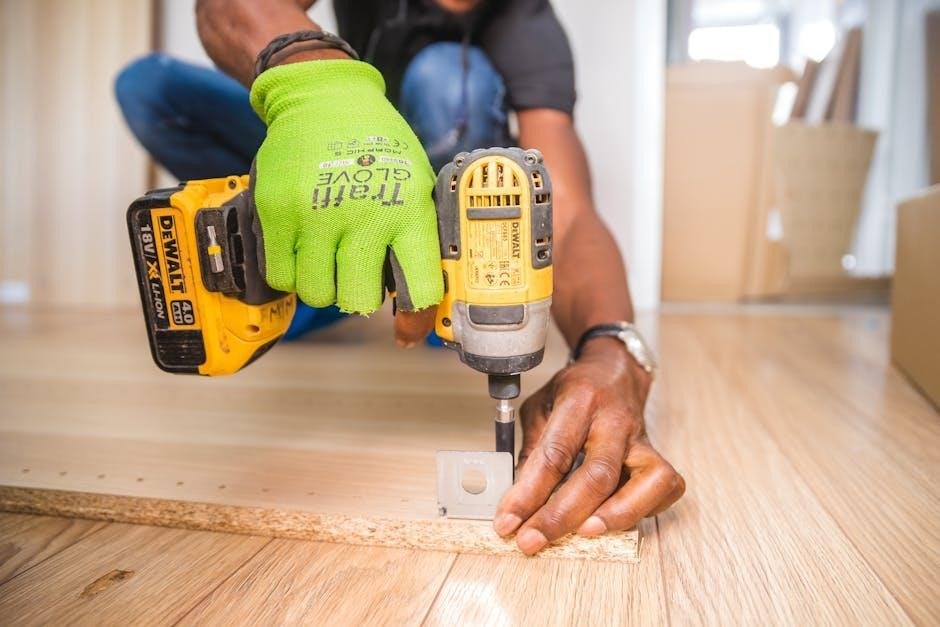
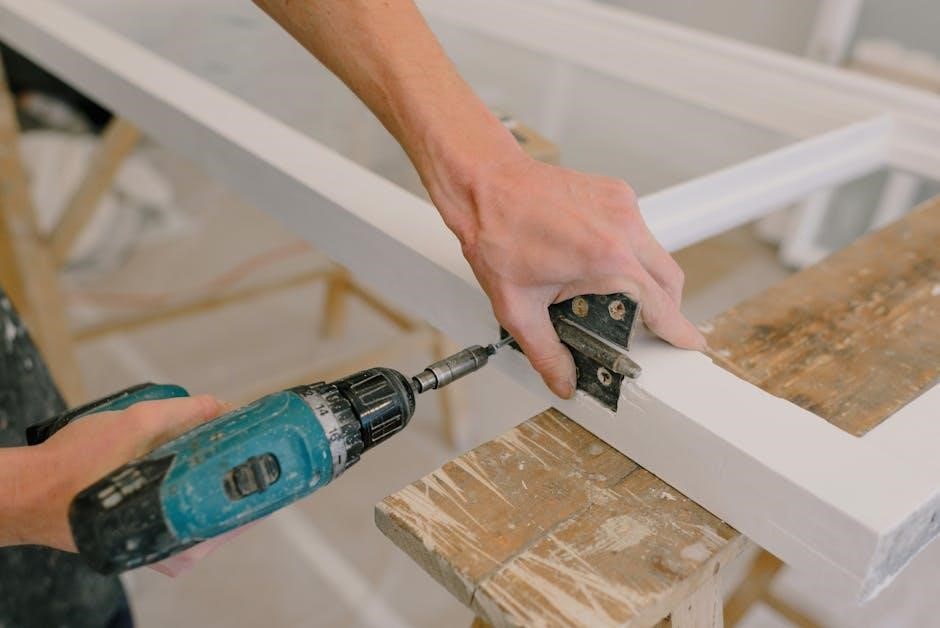
Essential tools include a screwdriver, wrench, and pliers. Materials like bolts, washers, spacers, and a threaded shaft are provided. Verify all parts are included and undamaged. Check for additional hardware specific to your door type. Ensure power tools are available for drilling or tightening. Refer to the hardware inventory list for a detailed breakdown. Save the carton and packing material until installation is complete.
3.2 Understanding Your Garage Door Type
Identify if you have a sectional or one-piece garage door. Sectional doors have multiple panels and tracks, while one-piece doors are single units. Determine the door’s weight and material, as this impacts opener compatibility. Check for springs or other components that may require special handling. Ensure the door is balanced and properly aligned for smooth operation. Consult the manual for specific instructions tailored to your door type.
Assembly of the Garage Door Opener
Assemble the rail and trolley, then install the idler pulley and chain/cable. Follow instructions carefully to ensure proper alignment and avoid damage or injury during assembly.
4.1 Assembling the Rail and Trolley
Begin by aligning the rail segments and securing them with the provided bolts. Ensure all connections are tight to maintain stability. Attach the trolley to the rail, following the manufacturer’s instructions. Use the correct hardware to prevent damage or misalignment. Avoid running the opener until assembly is complete. Keep hands clear of moving parts during this process to prevent injury.
4.2 Installing the Idler Pulley and Chain/Cable
Mount the idler pulley to the rail using the provided bolts, ensuring it is securely fastened. Thread the chain or cable around the pulley, following the diagram in the manual. Attach the chain to the trolley, making sure it is properly seated. Tighten the outer nut to secure the chain, keeping it taut but not overly tight. Always keep hands clear of moving parts during this process to avoid injury.
Installation Steps
Follow these organized steps to install your Craftsman garage door opener, starting with header bracket placement, then hanging the opener, and finally installing controls and sensors.
5.1 Determining the Header Bracket Location
To determine the header bracket location, ensure it is securely fastened to structural supports on the header wall or ceiling. For sectional doors, position the bracket above the garage door’s center. Avoid installing over drywall for stability. Measure carefully to align with the opener’s rail system, ensuring proper clearance and safety. This step is crucial for the opener’s functionality and your garage’s structural integrity.
5.2 Installing the Header Bracket
Attach the header bracket to the wall above the garage door or to the ceiling, ensuring it is securely fastened to structural supports. Use concrete anchors if installing into masonry. Hold the opener in place and align the rail with the header bracket. Tighten all bolts firmly to ensure stability. Proper installation is critical for safe operation and to prevent damage to the opener or garage door. Always follow manufacturer guidelines for secure fastening.
5.3 Hanging the Opener
Secure the opener to structural supports, using concrete anchors if necessary. Position the opener on the garage floor below the header bracket, or use a 2×4 on the top section of a sectional door to maintain proper clearance. Ensure the rail aligns with the header bracket and tighten all bolts firmly. Do not operate the opener until installation is complete. Proper hanging ensures safe efficient operation.
5.4 Installing the Door Control and Safety Sensors
Install the door control within sight of the door, at least 5 feet high to prevent child access. Mount safety sensors on both sides of the door, ensuring alignment and no obstructions. Connect the sensors to the opener and test the safety reversal system. Proper installation ensures the door reverses upon obstruction, preventing accidents. Always follow manufacturer guidelines for wiring and placement to guarantee reliable operation and safety.
Connect the opener to a properly grounded outlet. Ensure wiring complies with local codes and avoid running the opener until instructed. Disconnect power during wiring.
6.1 Understanding Electrical Connections
Understanding electrical connections is crucial for safe installation. Ensure the opener is connected to a properly grounded outlet to prevent electric shock. Verify that all wires are securely attached and comply with local electrical codes. Avoid using damaged cords or incorrect voltage ratings. Always disconnect power before performing any wiring tasks to ensure safety. This step ensures the opener functions correctly and minimizes fire hazards.

Electrical Requirements and Wiring
6.2 Installing the Protector System
Install the protector system to ensure safe operation. Mount the safety sensors on both sides of the garage door, aligning them across the door’s path. Secure the sensors using the provided brackets, ensuring they face each other with the beam unobstructed. Tighten all connections firmly and test the system to confirm proper alignment. This system prevents accidents by reversing the door if an obstacle is detected during closure.
Testing and Adjustment
Test the safety reversal system to ensure proper function. Adjust travel limits and force settings as needed. Verify door alignment and balance for smooth operation. Refer to manual for specifications.
7.1 Testing the Safety Reversal System
Test the safety reversal system to ensure it functions correctly. Lift the garage door halfway and release it. The door should reverse direction if it encounters resistance. Check that the photo eyes are aligned and unobstructed. If the door does not reverse, adjust the sensitivity settings as instructed in the manual. Proper function is critical to prevent accidents and ensure safe operation of your garage door opener.
7.2 Adjusting Travel Limits and Force
Adjust the travel limits and force settings to ensure smooth operation. Use the adjustment screws to set the door’s open and close positions. Check the manual for specific instructions. Test the door’s movement to confirm it stops correctly at the set limits. Proper adjustment prevents damage and ensures safe, efficient operation of your garage door opener, aligning with safety standards and manufacturer guidelines.
Maintenance and Troubleshooting
This section covers essential maintenance tips and troubleshooting steps to ensure optimal performance and safety of your Craftsman garage door opener, addressing common issues and solutions effectively.
8.1 Regular Maintenance Tips
Regular maintenance ensures your Craftsman garage door opener operates smoothly. Check the chain or belt for wear and lubricate moving parts annually. Inspect sensors for alignment and cleanliness. Tighten all hardware and replace worn or damaged components promptly. Clean the opener’s exterior and ensure proper power connection. Perform a safety reversal test monthly to ensure safe operation. Schedule professional servicing if issues persist. Keep the manual handy for reference during maintenance tasks.
8.2 Common Issues and Solutions
Common issues with Craftsman garage door openers include malfunctioning sensors, worn chains or belts, and remote control problems. Solutions: Clean sensor lenses, replace worn parts, and reprogram remotes. For reversing issues, check sensor alignment and test door balance. If the opener is noisy, lubricate moving parts. Always refer to the manual for specific troubleshooting steps or contact customer support for advanced assistance to ensure safety and proper function.
Thank you for following the Craftsman Garage Door Opener Installation Manual. For further assistance, visit support.chamberlaingroup.com or consult the myQ App for additional resources and support.
9.1 Final Check and Manual Storage
After completing the installation, perform a final safety check to ensure all components function properly. Store this manual near the garage door for easy access. Regularly review safety guidelines and maintenance tips to maintain optimal operation. Keep the manual in a dry, secure location to preserve its condition for future reference or troubleshooting needs.
9.2 Where to Find Additional Help
For further assistance, visit the official Craftsman website or contact their customer support. Additional resources, including troubleshooting guides and FAQs, are available online. You can also find detailed instructions on platforms like ManualsLib or through the myQ App. For complex issues, consult a professional or authorized Craftsman service centers. Community forums and DIY websites may offer helpful tips and solutions from experienced users.